[Swagger] blocked:mixed-content CORS 해결
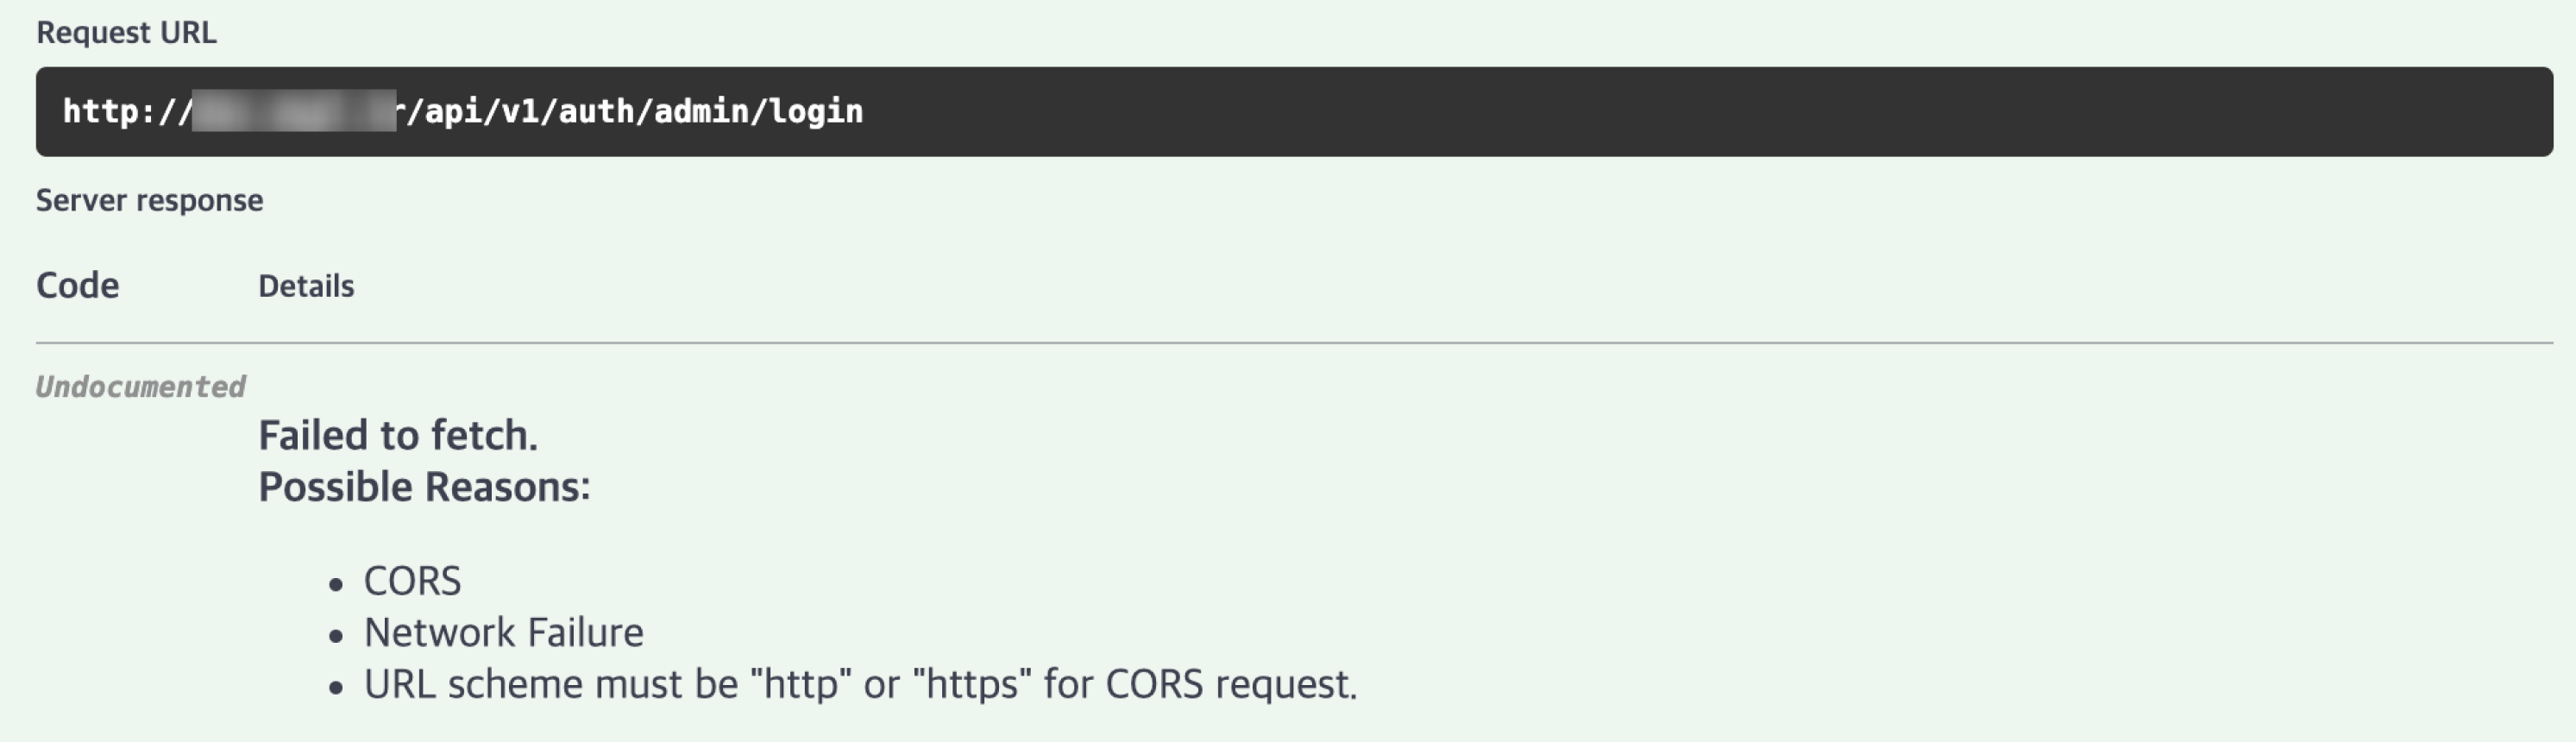
Https를 달고 나서부터 프론트 팀원에게 swagger에서 CORS 에러가 발생하기 시작한다는 문의가 들어왔다.

요청을 다시 살펴보니 blocked:mixed-content 라는 Status 코드가 떠있었고, 이는 http <-> https 간 통신이 이루어지면 발생하는 에러였다.

실제로 접속 url은 https://[도메인] 이었고 요청을 전송하는 url은 http://[도메인] 이었다.

위와 같이 프론트 개발자가 원하는대로 url을 선택할 수 있게 하자.

하지만 dev환경과 prod 환경의 도메인이 다르므로 2개의 환경에서 swagger는 각자 자신의 맞는 도메인을 띄워줘야한다.
요구사항
1. swagger에서 원하는 url을 선택할 수 있어야한다.
2. 각 dev와 prod 도메인으로 swagger 접속 시 각자의 도메인에 맞는 url 선택창이 떠야한다.
Yml 설정 파일 분리
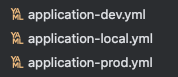
기존 datasource를 환경별로 다르게 설정을 해주고 있었기에 서버 환경 별로 별도의 yml이 존재하고 있었다.
swagger:
  servers:
    - url: https://[환경에 맞는 도메인]
      description: "mopl [dev 혹은 prod] https 서버입니다."
    - url: http://[환경에 맞는 도메인]
      description: "mopl [dev 혹은 prod] http 서버입니다."
    - url: http://localhost:8080
      description: "mopl local 서버입니다."
각 yml에 해당 환경에서 띄워줄 url을 다르게 입력해줍니다.
SwaggerProperites
@ConfigurationProperties(prefix = "swagger")
public record SwaggerProperties(
        List<ServerProperties> servers
) {
    public record ServerProperties(
            String url,
            String description
    ) {
    }
}
yml에서 설정을 읽어오는 Properties 클래스를 만들어 줍니다.
이때, yml에 적은 시작 prefix (ex swagger: ) 를 @ConfigurationProperties(prefix = "swagger") 와 동일하게 맞춰줘야합니다.
PropertiesConfig
@EnableConfigurationProperties({
        SwaggerProperties.class
})
@Configuration
public class PropertiesConfig {

}
ConfigurationProperties를 spring이 읽을 수 있도록 EnableConfigurationProperties에 추가해줍니다.
SwaggerConfig
@Configuration
@RequiredArgsConstructor
public class SwaggerConfig {

    private final SwaggerProperties swaggerProperties;

    private List<Server> addServerUrl() {
        return swaggerProperties.servers().stream()
                .map(serverProp -> new Server()
                        .url(serverProp.url())
                        .description(serverProp.description()))
                .collect(Collectors.toList());
    }

    @Bean
    public OpenAPI openAPI() {

        return new OpenAPI()
                .info(new Info().title("모플 API 명세서")
                        .description("모플 API 명세서 입니다")
                        .version("v0.0.1"))
                .servers(addServerUrl());
    }
}
Spring Boot에서 Swagger UI를 통해 OpenAPI 3.0 문서를 생성시에 해당 설정이 추가될 수 있도록 설정을 해줍니다.
결과
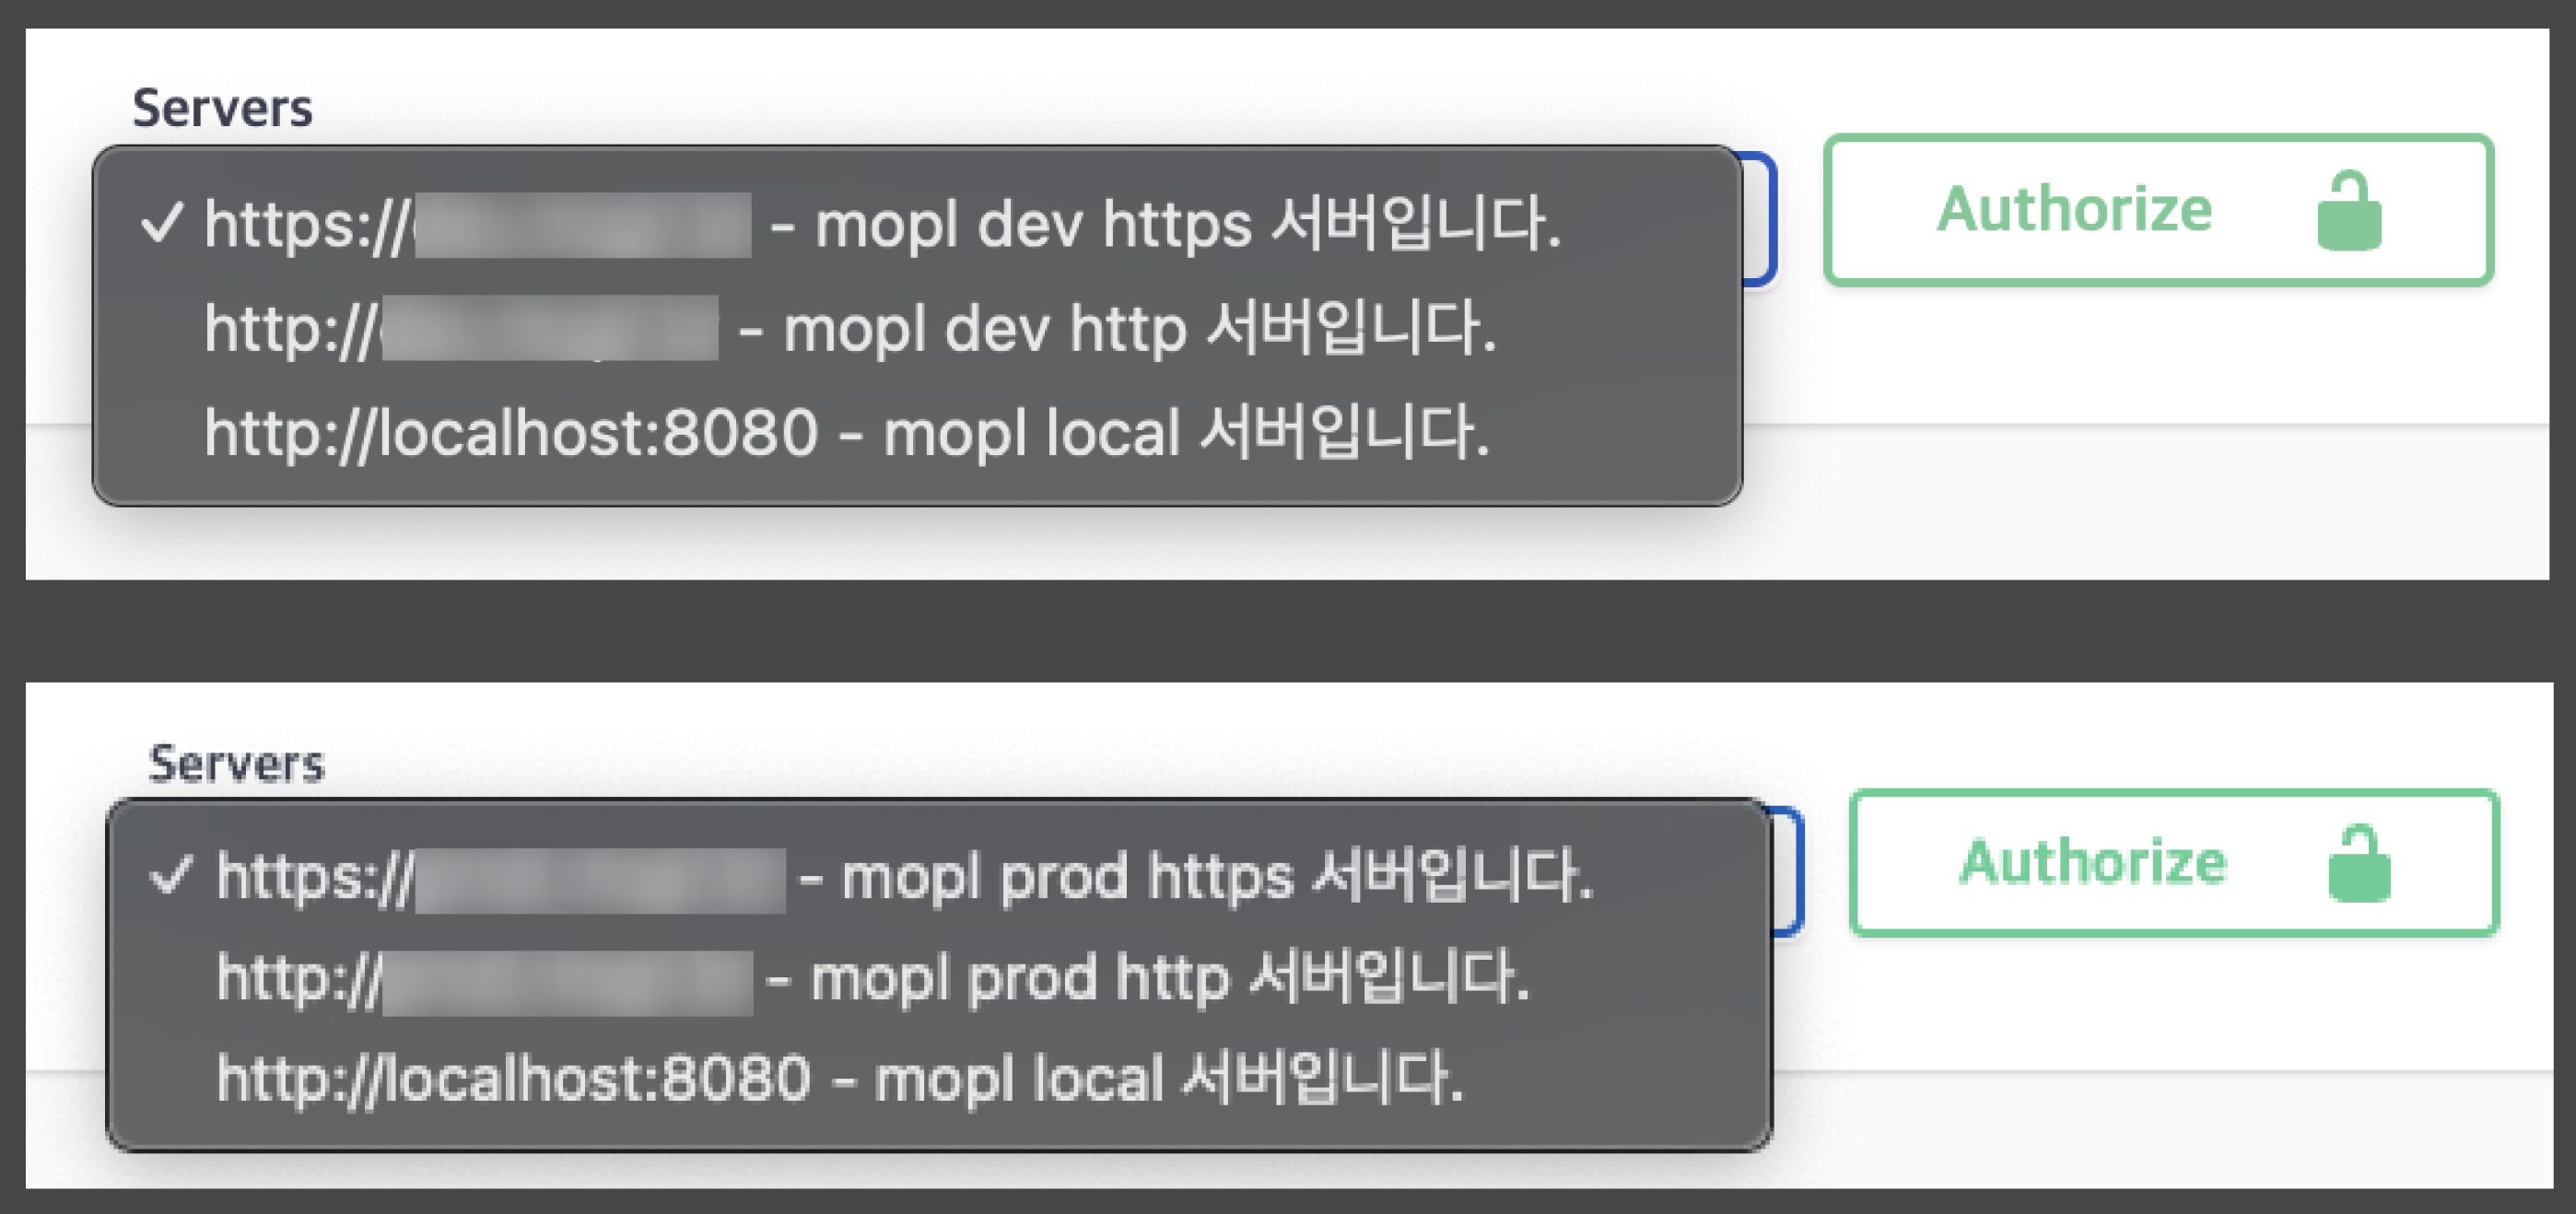
위와 같이 환경별로 다른 url 선택창이 뜨면 성공입니다.
번외

만약 위와 같이 빨간색으로 Authorize로 각 api 전송 시에 헤더에 토큰을 넣고 싶으시다면 아래 코드를 사용하시면 됩니다.
@Configuration
@RequiredArgsConstructor
public class SwaggerConfig {

    private final SwaggerProperties swaggerProperties;

    private SecurityScheme createAPIKeyScheme() {
        return new SecurityScheme().type(SecurityScheme.Type.HTTP)
                .bearerFormat("JWT")
                .scheme("Bearer");
    }

    private List<Server> addServerUrl() {
        return swaggerProperties.servers().stream()
                .map(serverProp -> new Server()
                        .url(serverProp.url())
                        .description(serverProp.description()))
                .collect(Collectors.toList());
    }

    @Bean
    public OpenAPI openAPI() {

        return new OpenAPI().addSecurityItem(new SecurityRequirement().addList("JWT"))
                .components(new Components().addSecuritySchemes("JWT", createAPIKeyScheme()))
                .info(new Info().title("모플 API 명세서")
                        .description("모플 API 명세서 입니다")
                        .version("v0.0.1"))
                .servers(addServerUrl());
    }
}
전체 코드는 아래 링크에서 참조할 수 있다.